Prerequisites
Before configuring our DNS, we must have the following information:
Additionally, before we configure our computer as a DNS, we need to verify that the following minimum conditions are proper:
A server running Windows Server 2012R2, 2016, 2019, or 2022 operating system and an open Remote Desktop Protocol (RDP) 3389 port.
Basically, installing the DNS Server Role in Windows Server is a simple process that allows you to configure and manage a DNS server for your network. It involves adding the DNS server role to your Windows Server machine, configuring basic DNS settings, and creating and managing DNS records. First of all, log in as an administrator user to the Windows Server and follow the steps below to install the DNS server on our Windows Server:
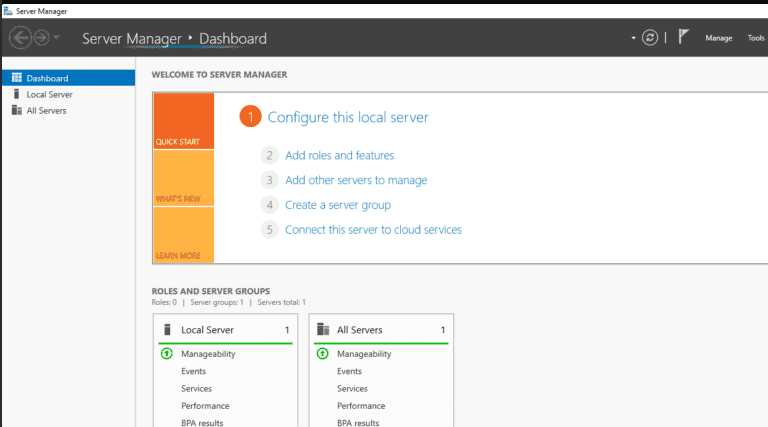
Step 1: Launch the Server Manager, as illustrated below:
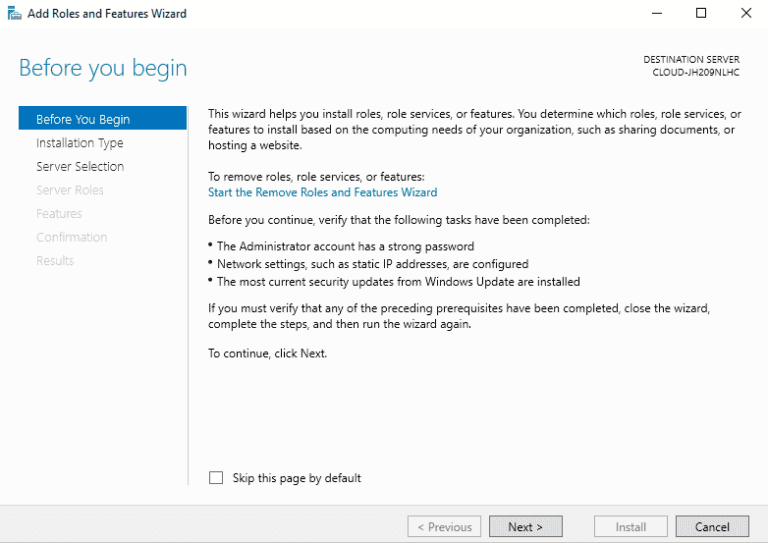
Step 2: Select Add roles and features.
Step 3: Press Next.
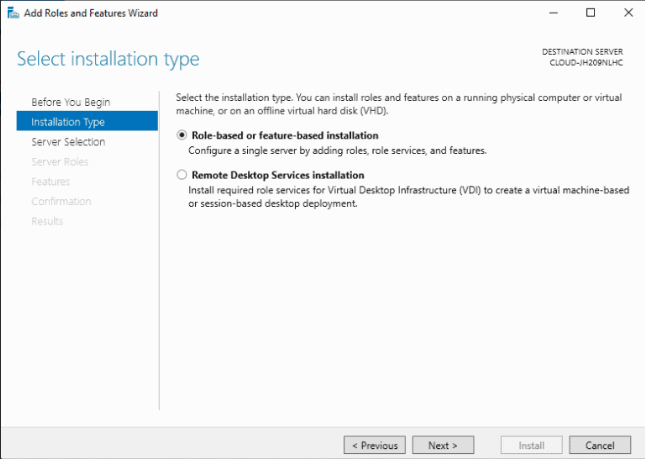
Step 4: Click on Next after selecting Role based and feature based installation.
Step 5: Choose a server from the pool and press Next.
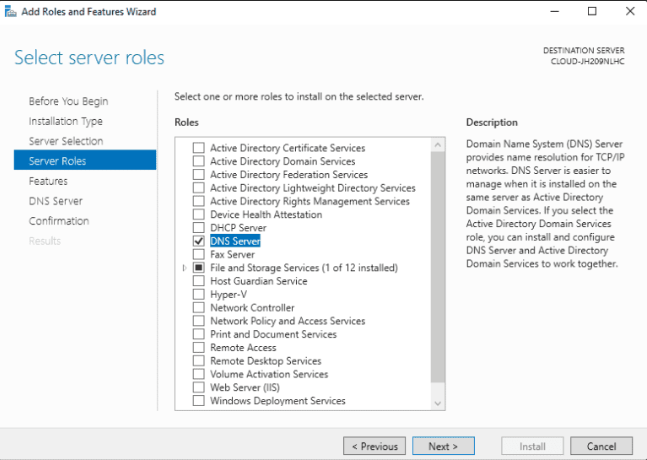
Step 6: Pick the DNS server and click Next.
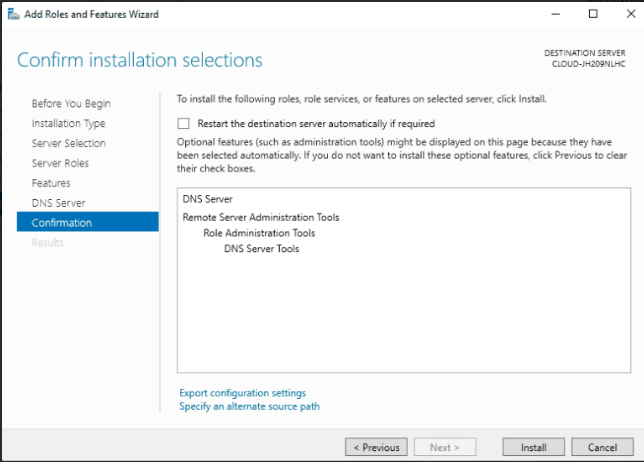
Step 7: Double check all settings before clicking the Install button to begin the installation.
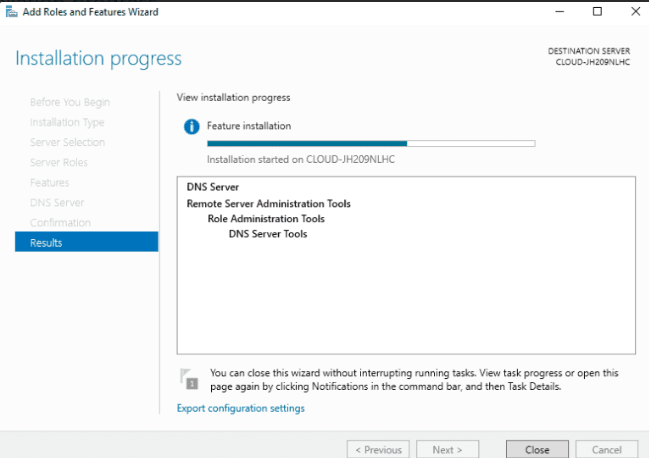
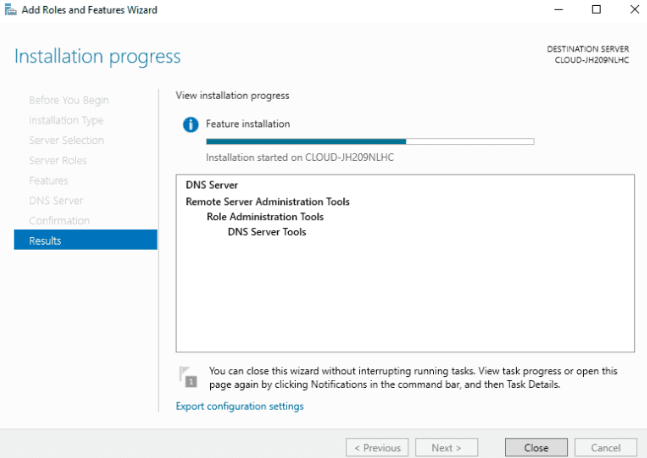
Step 8: Allow some time for the installation to complete. Once done, click the Close to exit the installation wizard.
Now, that we have set up the DNS server role, we can use the DNS service inside the server. We need to create forward and reverse lookup zones to resolve the name to IP address and vice versa.
Evidently, a Forward Lookup Zone in DNS is a database of resource records that map domain names to IP addresses. Hence, we use it to resolve host names to IP addresses.
Certainly, the Forward Lookup Zone is vital because it enables clients to access network resources using domain names instead of IP addresses. This lookup zone makes it easier for users to remember and access network resources, and it helps improve the network’s readability and maintainability.
In order to create a forward lookup zone, follow the steps below:
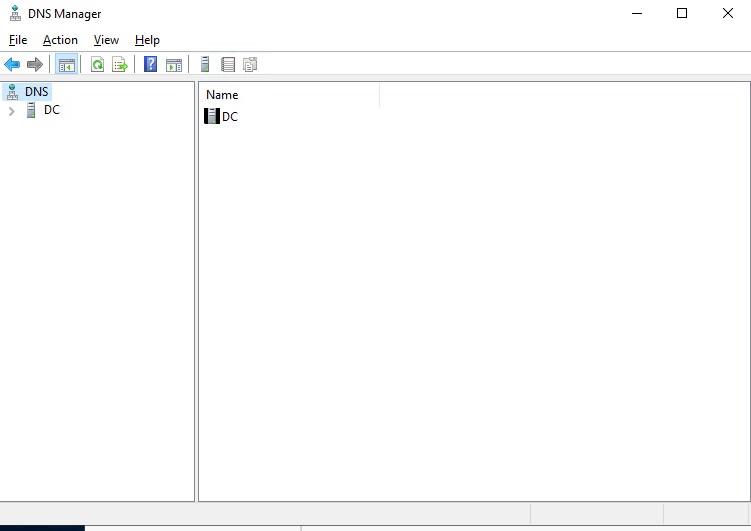
Step 1: On the server manager, navigate to Tools > DNS to access the DNS manager, as shown below:

Step 2: Right click on the server name and select Properties.

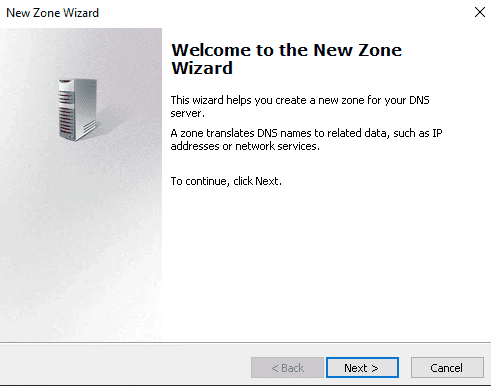
Step 3: Select the New Zone option.
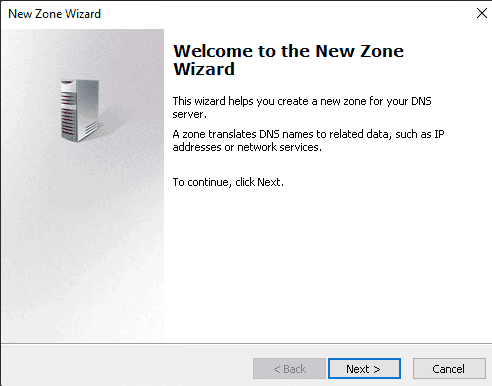
Step 4: Press Next.
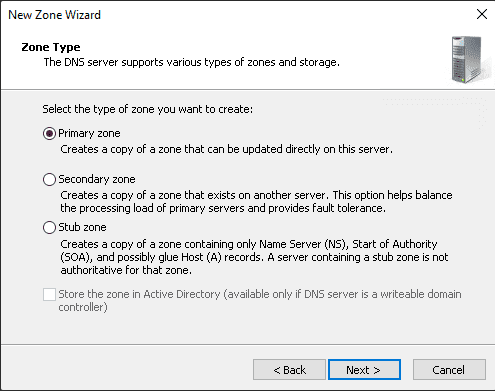
Step 5: Choose the Primary zone and press Next.

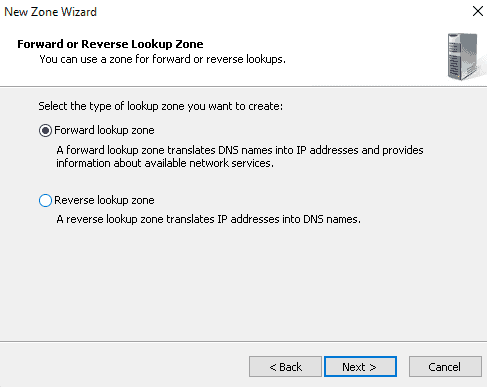
Step 6: Click Next after selecting the Forward lookup zone.
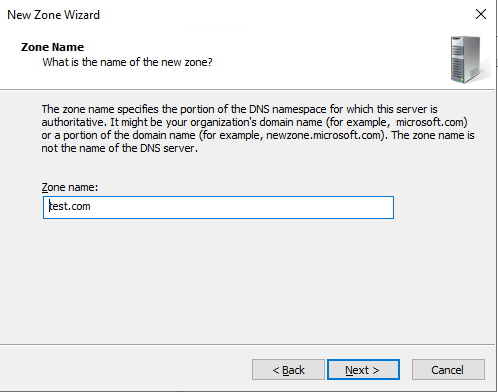
Step 7: Enter the name of our zone and press Next.
Step 8: Choose “Create a file with the file name” and press Next.
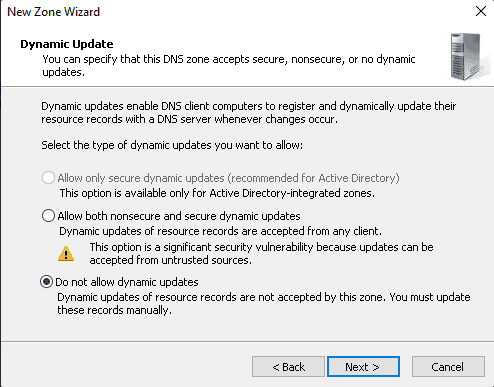
Step 9: Check the box next to “Do not allow dynamic update” and click Next.
Next, with Install and Configure DNS Server on Windows Server we configure Reverse Lookup Zone.
Following, a Reverse Lookup Zone in DNS is a database of resource records that map IP addresses to host names. By all means, we use this lookup zone to resolve IP addresses to hostnames.
Further, a Reverse Lookup Zone is different from the Forward Lookup Zone. In that it maps IP addresses to host names, while the Forward Lookup Zone maps host names to IP addresses. Additionally, the Reverse Lookup Zone is typically less frequently used than the Forward Lookup Zone, as clients are more likely to access network resources using host names rather than IP addresses.
Indeed, to create a forward lookup zone, follow the steps below:
Step 1: On the server manager, navigate to Tools > DNS to access the DNS manager:
Step 2: Right click on the server name and select Properties.
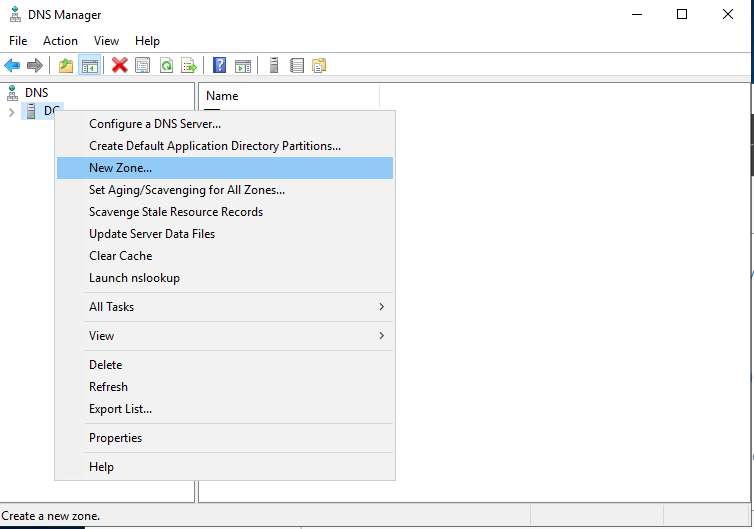
Step 3: Here, select the New Zone option.
Step 4: Press Next.
Step 5: Now, choose the Primary zone and press Next.
Step 6: From this step forward, the setup is different from our previous section. Next, click Next after selecting the Reverse lookup zone.
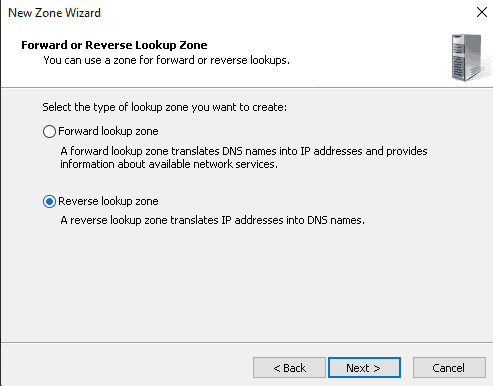
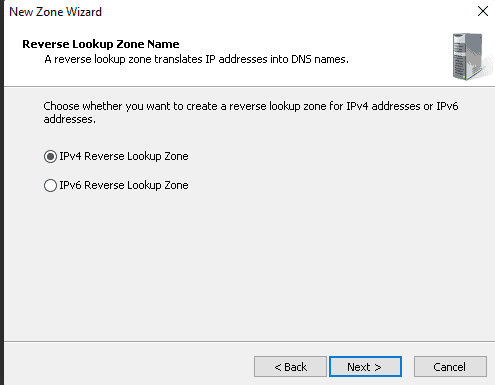
Step 7: After, select IPv4 Reverse Lookup Zone and click on Next.
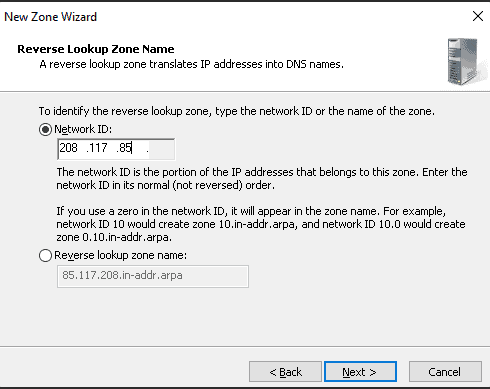
Step 8: Define your network ID and click Next.
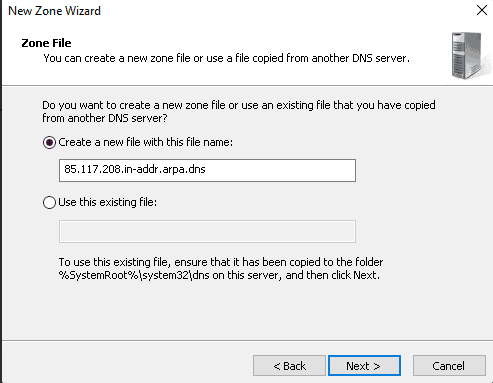
Step 9: Further, choose “Create a file with the file name” and press Next.
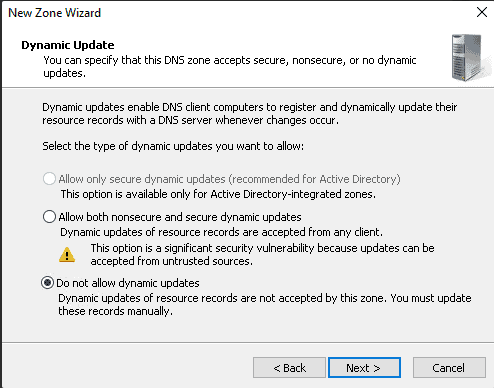
Step 9: Please check the box next to “Do not allow dynamic update” and click Next.
Step 10: In sum, press the Finish button.
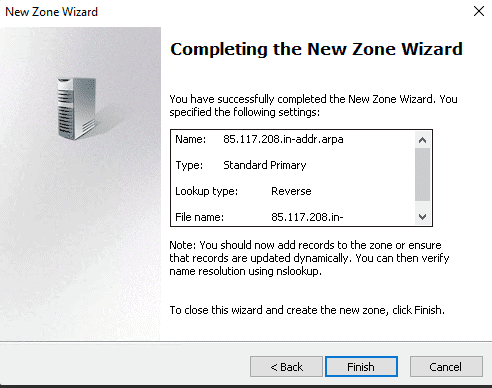
Done! Your DNS server is now configured and ready for domain use.
") United Arab Emirates (Arabic)
United Arab Emirates (Arabic)") Worldwide (English)
Worldwide (English)