Step-by-Step Guide to Installing Odoo on Server
Odoo is one of the leading ERP systems that allows companies to manage business operations, accounting, sales, HR, and more from a single platform. Installing Odoo on a server can seem challenging, especially for beginners, but with the right step-by-step guide, the process becomes easy and straightforward.
In this article, you will learn how to install Odoo on your server, configure PostgreSQL, and run Odoo ERP successfully to boost your business efficiency.
Why Install Odoo on a Server?
Deploying Odoo on a server ensures better performance, security, and scalability for businesses. With server hosting, multiple users can access Odoo ERP remotely, making it a powerful solution for companies of all sizes.
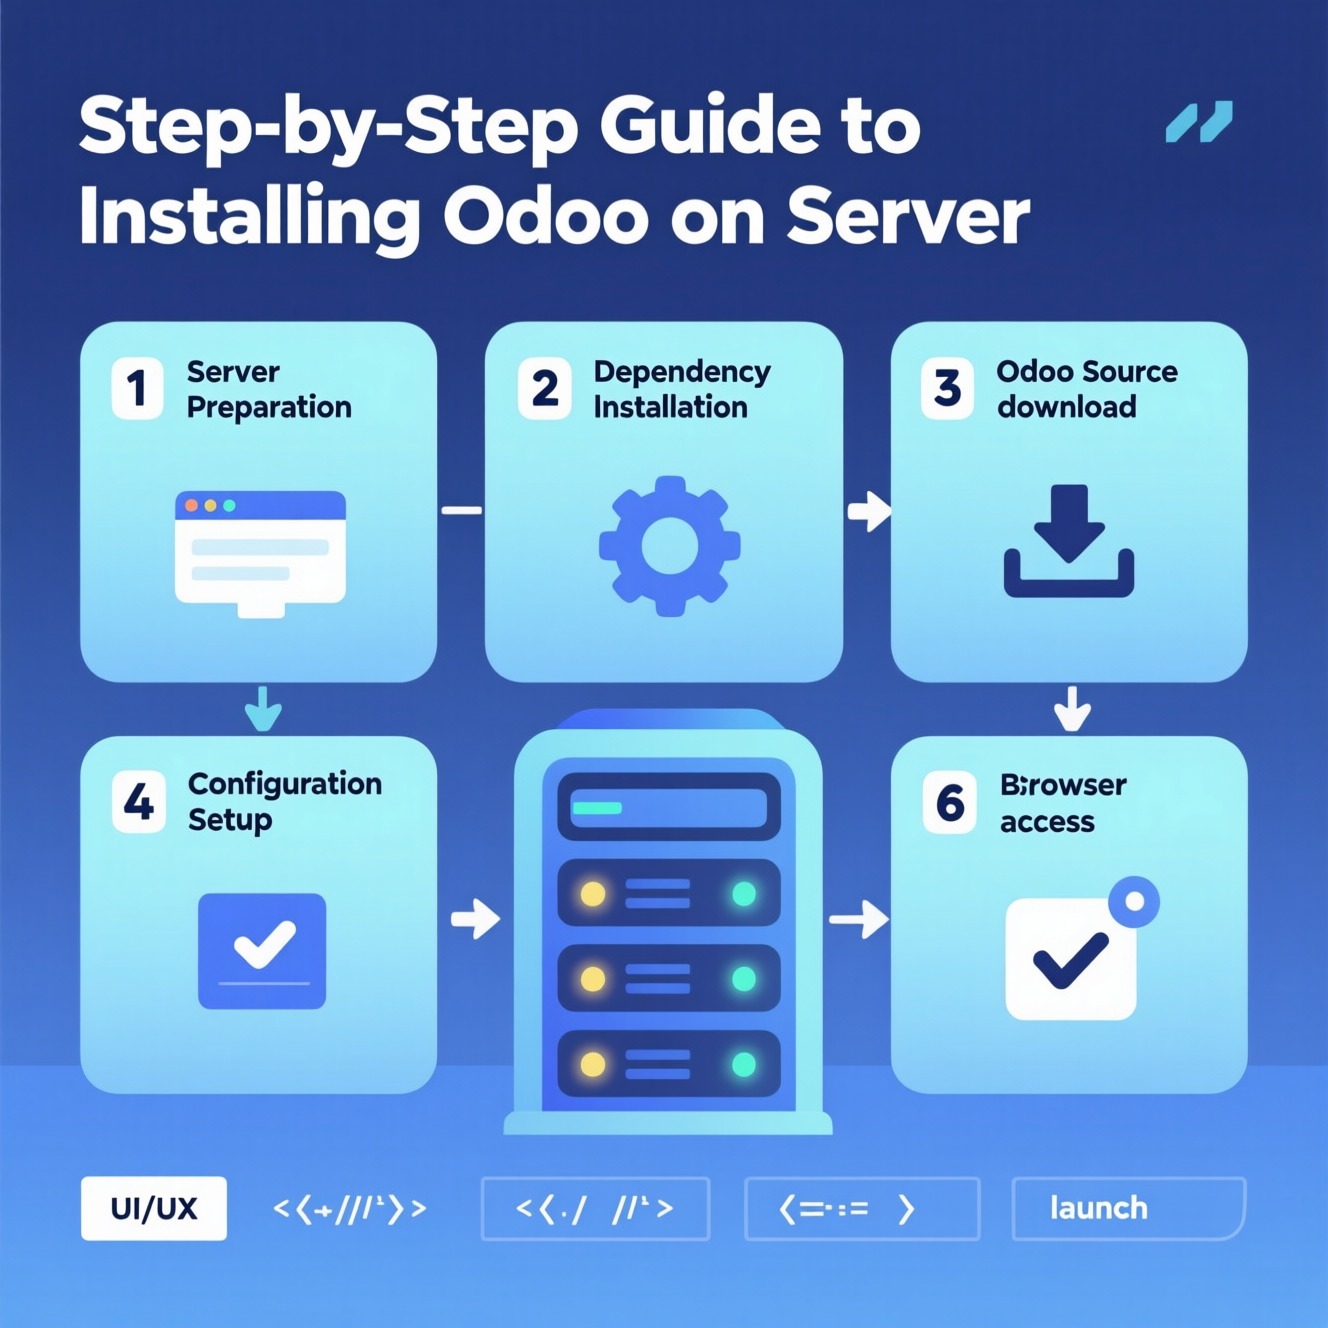
Step 1: Prepare Your Server Environment
Make sure your server is updated and ready for installation:
sudo apt update && sudo apt upgrade
Then install Python 3 and essential packages since Odoo is built on Python. You also need PostgreSQL, as it is the database management system for Odoo.
Step 2: Create a PostgreSQL User
Odoo requires a dedicated PostgreSQL user:
sudo su - postgres
createuser -s odoo
exit
Step 3: Install Odoo Dependencies
Install all required Python and system libraries:
sudo apt install python3-pip python3-dev libxml2-dev libxslt1-dev libldap2-dev libsasl2-dev libtiff5-dev libjpeg8-dev libopenjp2-7-dev
Step 4: Download and Install Odoo
Clone the official Odoo repository and set up a virtual environment:
sudo git clone https://www.github.com/odoo/odoo --depth 1 --branch 17.0 /opt/odoo
cd /opt/odoo
python3 -m venv odoo-venv
source odoo-venv/bin/activate
pip3 install -r requirements.txt
deactivate
Step 5: Configure Odoo
Create a configuration file for Odoo:
sudo nano /etc/odoo.conf
Add the following:
[options]
addons_path = /opt/odoo/addons
admin_passwd = strongpassword
db_host = False
db_port = False
db_user = odoo
db_password = False
logfile = /var/log/odoo/odoo.log
Step 6: Create a Service for Odoo
To run Odoo automatically after reboot, create a systemd service:
sudo nano /etc/systemd/system/odoo.service
Insert:
[Unit]
Description=Odoo
Requires=postgresql.service
After=network.target postgresql.service
[Service]
Type=simple
SyslogIdentifier=odoo
PermissionsStartOnly=true
User=odoo
Group=odoo
ExecStart=/opt/odoo/odoo-venv/bin/python3 /opt/odoo/odoo-bin -c /etc/odoo.conf
StandardOutput=journal+console
[Install]
WantedBy=multi-user.target
Enable and start the service:
sudo systemctl daemon-reexec
sudo systemctl enable --now odoo
Step 7: Access Odoo in Browser
Once installation is complete, open Odoo in your browser:
http://your-server-ip:8069
You can now create your first database and start using Odoo ERP.
Conclusion
By following this step-by-step Odoo installation guide, you can easily set up Odoo on your server. From preparing the environment to configuring PostgreSQL and running the service, this process ensures a secure and reliable ERP system for your business.
Odoo server installation not only improves performance but also enables your company to scale operations efficiently and manage resources in one place.
لتجربة البرنامج مجانا من EGYVPS .
زور موقعنا https://egyvps.com/
او تواصل علي الرقم
01001197157
") United Arab Emirates (Arabic)
United Arab Emirates (Arabic)") Worldwide (English)
Worldwide (English)