How to Install Windows Server 2019 Step by Step (with Images)
Introduction
Windows Server 2019 is one of Microsoft's powerful operating systems designed for enterprise servers. In this guide, we will learn how to install it step by step with images.
Prerequisites
Before starting the installation, make sure you have:
- The Windows Server 2019 ISO file.
- A computer or server that meets the system requirements.
- A USB flash drive (at least 8GB) or a bootable DVD.
Step 1: Download Windows Server 2019 and Create Installation Media
- Download the ISO file of Windows Server 2019 from the official Microsoft website.
- Use a tool like Rufus to create a bootable USB drive or burn the ISO to a DVD.
Step 2: Boot from Installation Media
- Insert the USB drive or installation disc into your system.
- Restart the computer and press F2, F12, or DEL (depending on your system) to enter BIOS.
- Select Boot from USB or DVD, save the settings, and restart the system.
Step 3: Start Windows Server 2019 Installation
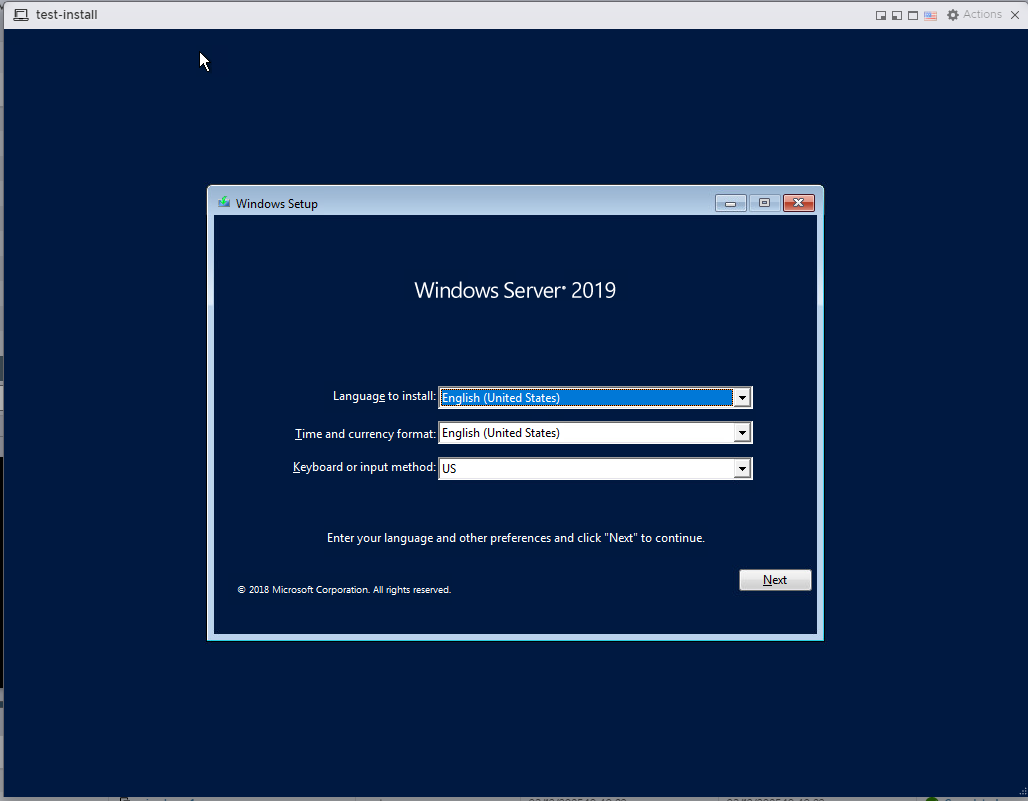
- Once booted, the Windows Setup screen will appear.
- Choose Language, Time, and Keyboard Input Method, then click Next.
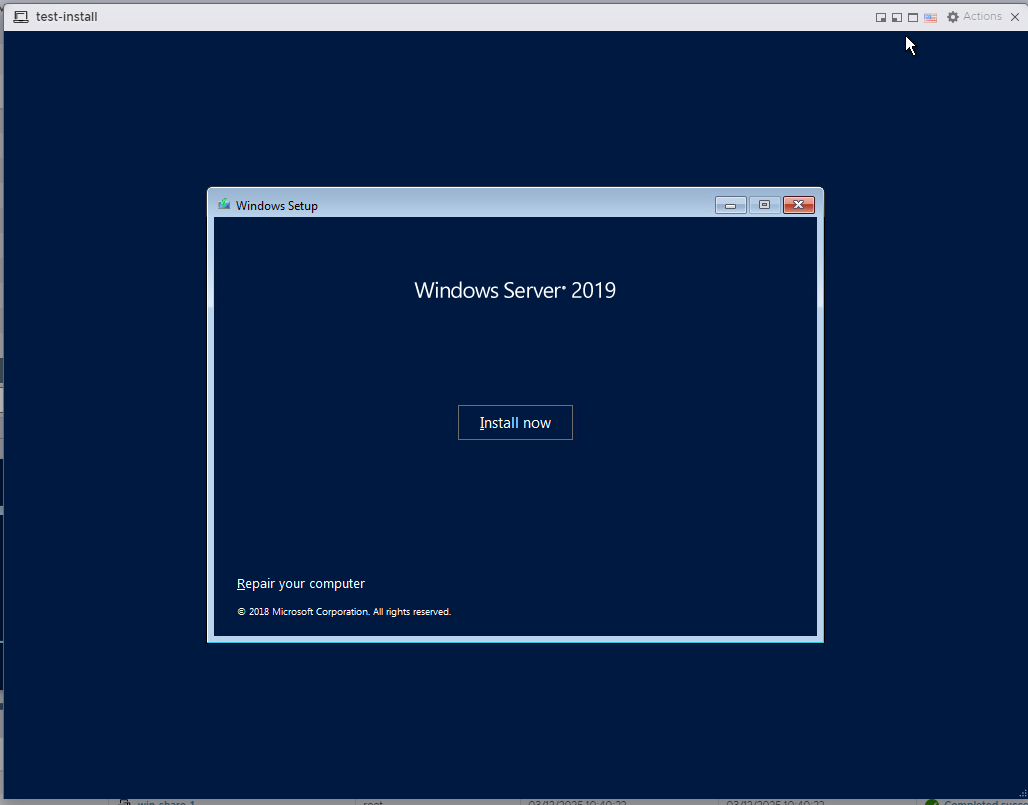
Click Install Now.
Step 4: Choose Windows Server 2019 Edition
- Select the edition you want to install (Standard or Datacenter) with or without Desktop Experience.
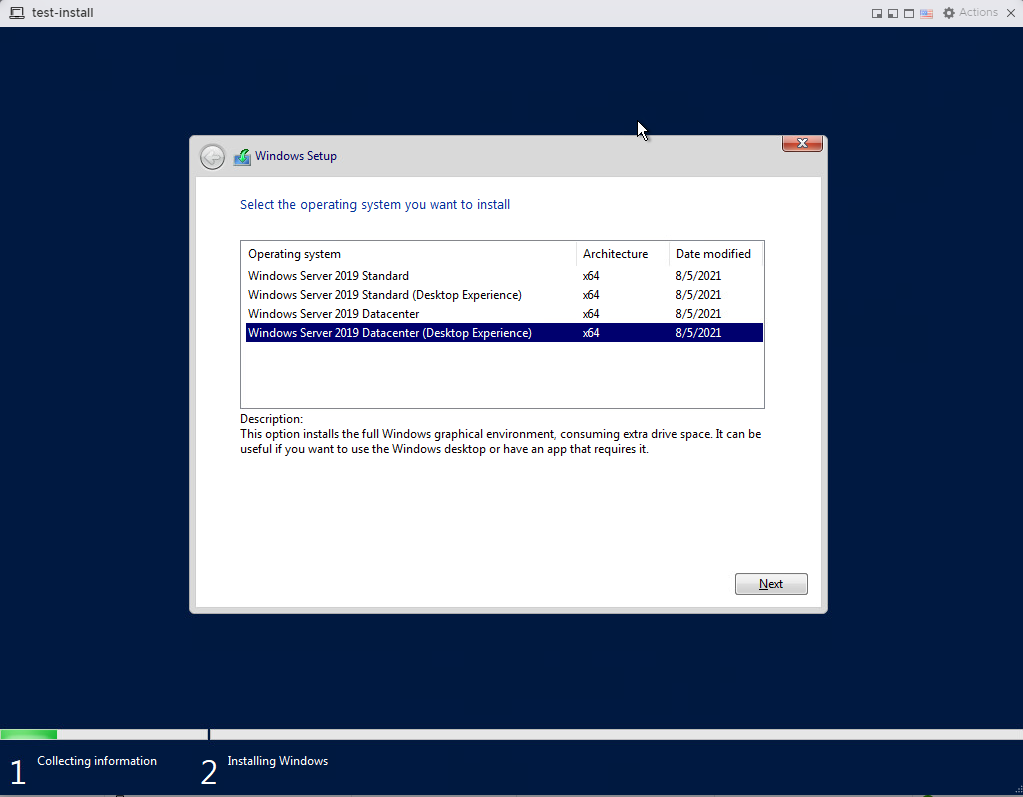
Click Next.
Step 5: Accept the License Agreement
- Check the box for I accept the license terms.
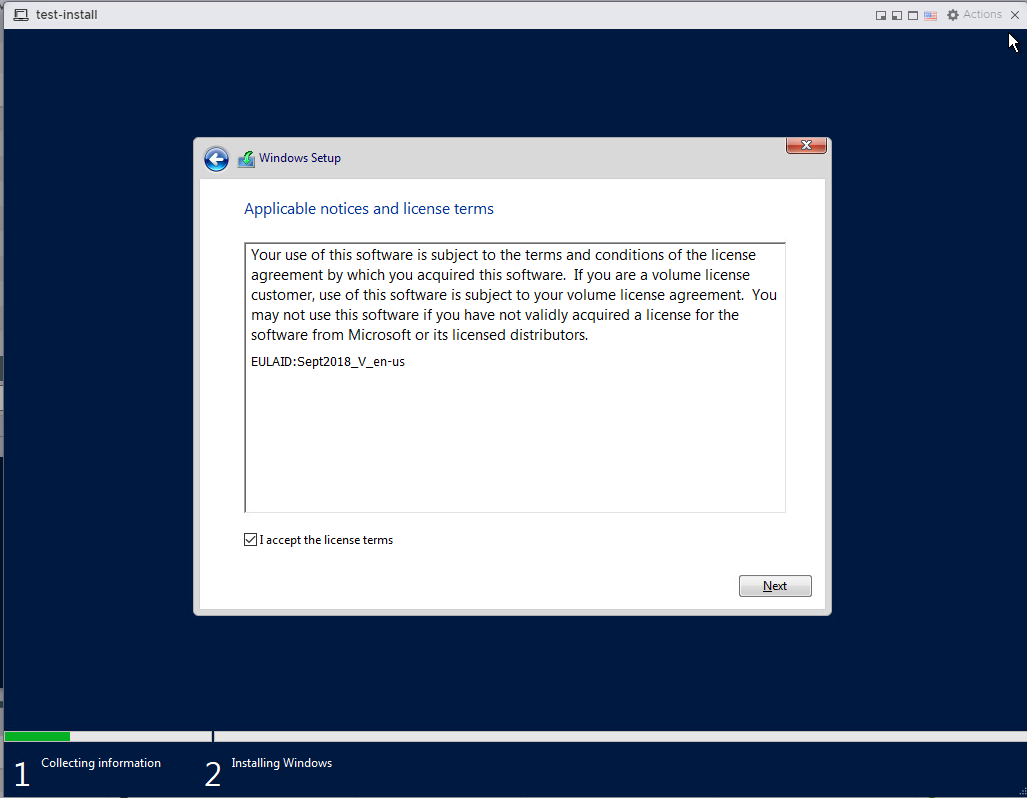
Click Next.
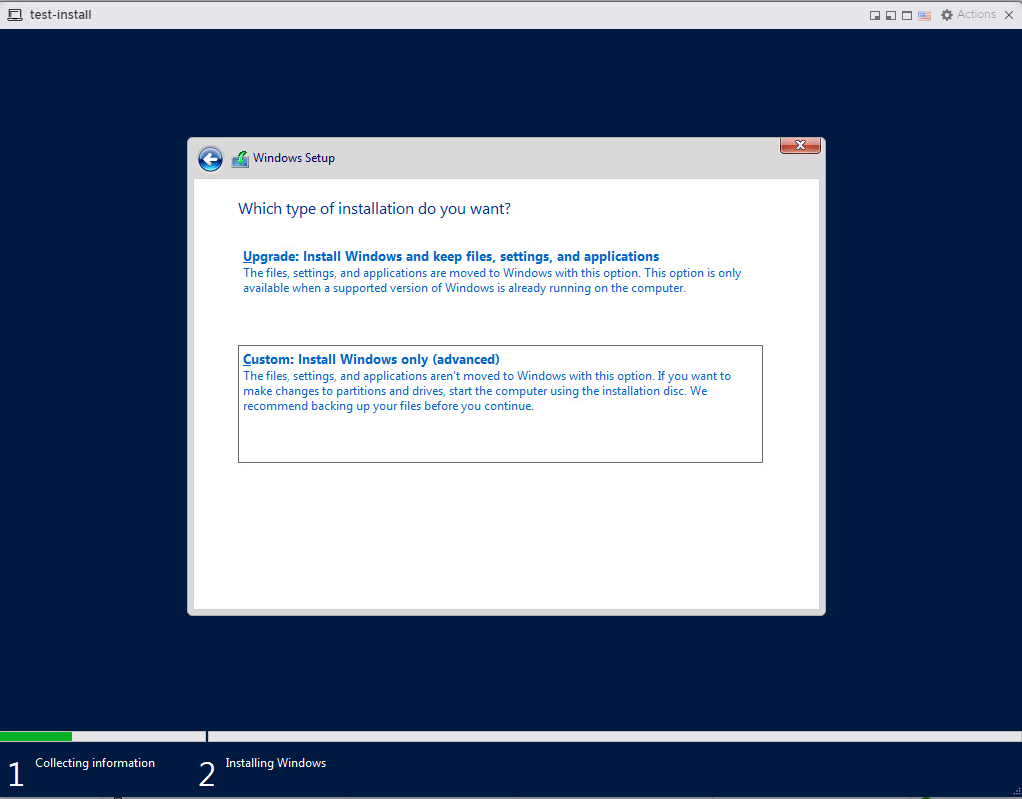
Step 6: Choose Installation Type
- Select Custom: Install Windows only (advanced) for a clean installation.
Step 7: Partition the Disk and Select Installation Location
- Choose the disk where you want to install Windows Server.
- If you want to create new partitions, use the New option.
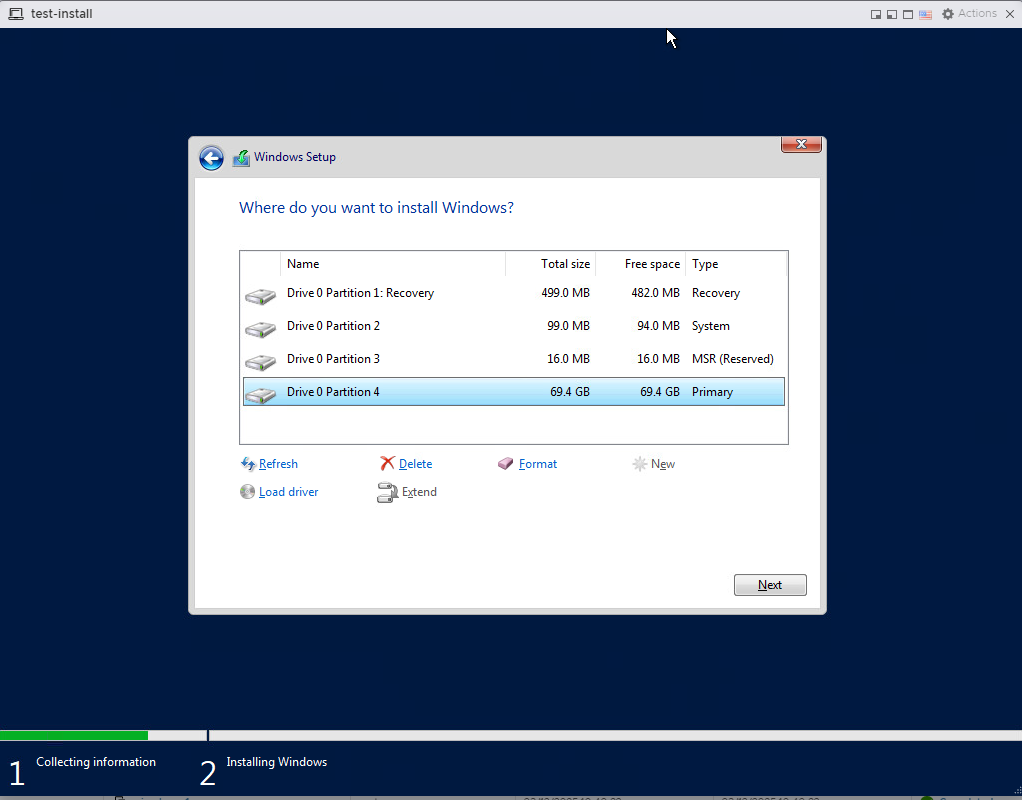
Click Next.
Step 8: Start Windows Server 2019 Installation
- The installation process will begin automatically, and the system will restart multiple times.
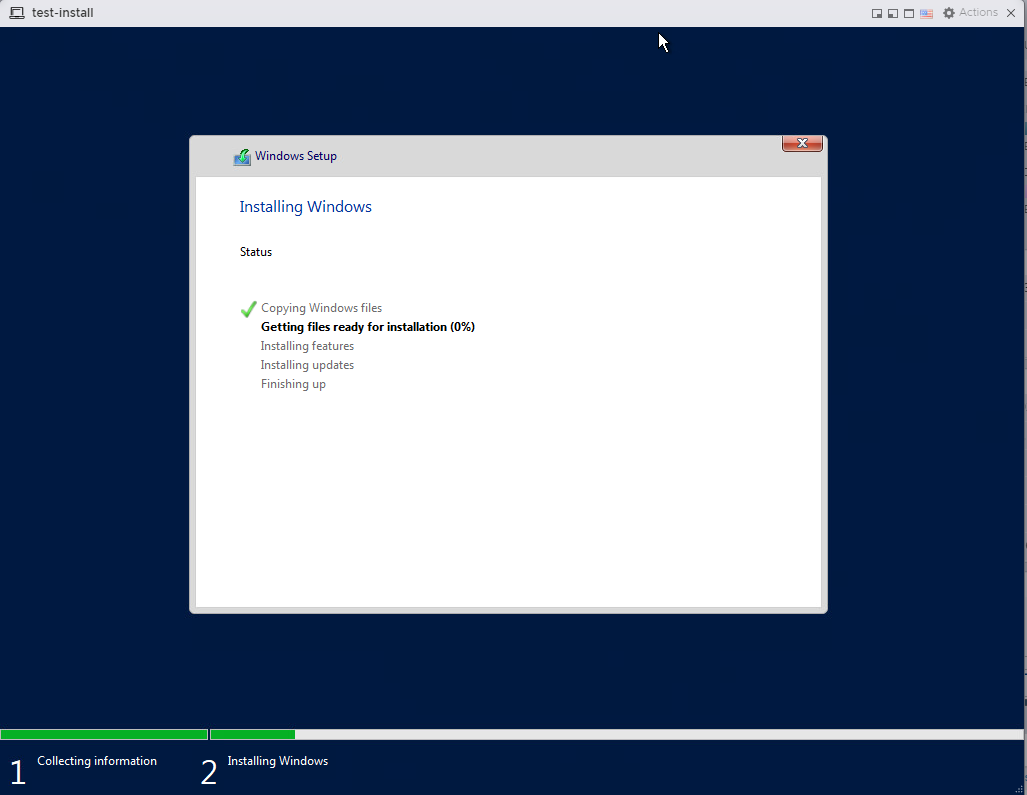
Wait for the installation to complete.
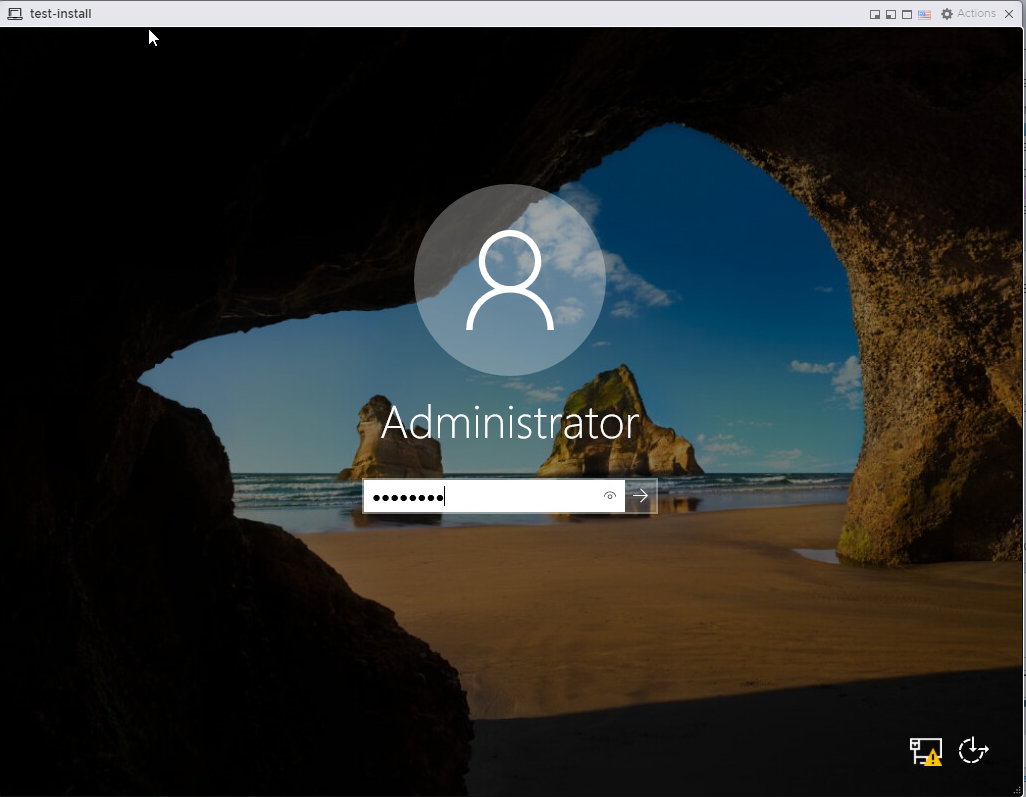
Step 9: Create Administrator Account and Log In
- After installation, you will be prompted to set a password for the Administrator account.
- Enter a secure password and click Finish.
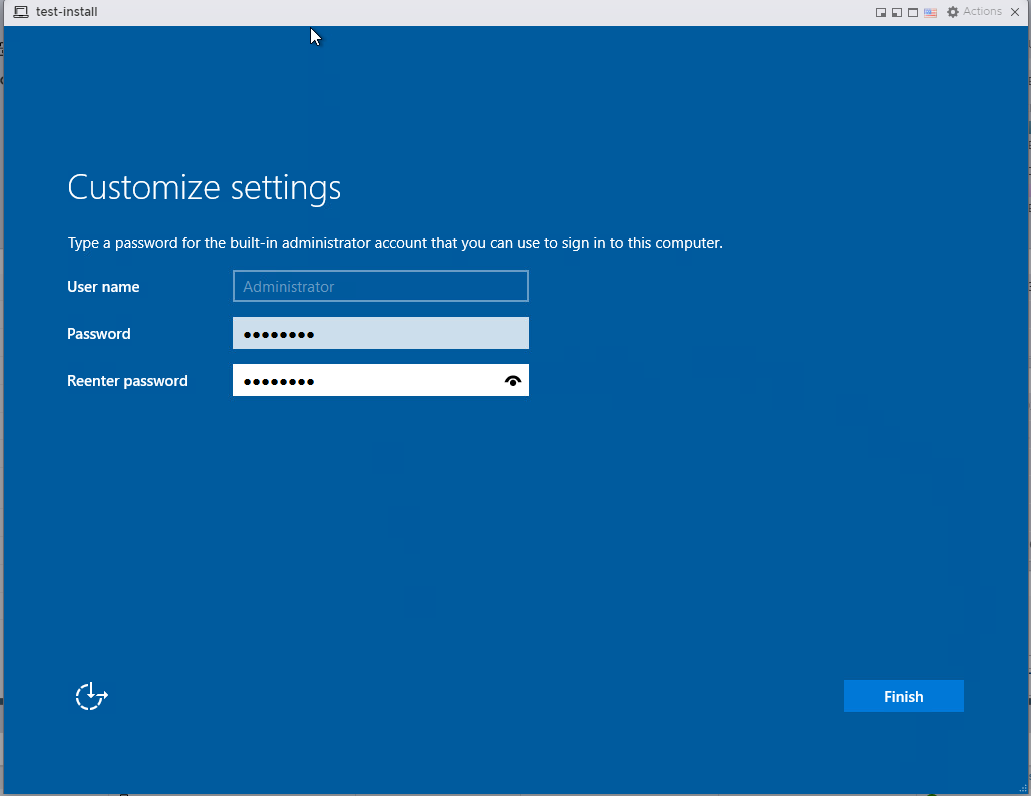
- Log in using the password you just set.
Step 10: Configure Windows Server 2019
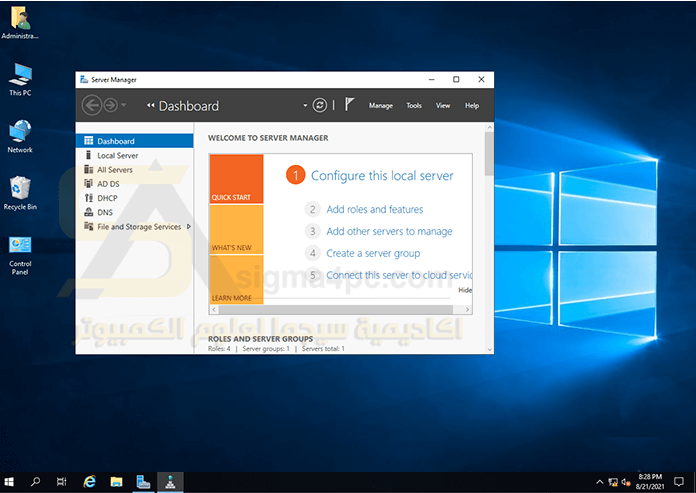
- Update the system via Windows Update.
- Install the necessary drivers.
- Set up roles and features according to your needs.
Conclusion
Now you have Windows Server 2019 installed and ready for use. You can begin setting up services like Active Directory, DNS, DHCP, and more.
") United Arab Emirates (Arabic)
United Arab Emirates (Arabic)") Worldwide (English)
Worldwide (English)