Getting a new Windows Server VPS is only the first step — configuring it properly ensures security, stability, and smooth performance. In this guide, we’ll explain how to log in via RDP, set a server name and static IP, add users, and manage permissions step by step.
Remote Desktop Protocol (RDP) allows you to connect to your VPS and control it as if you were sitting in front of the server.
On your local computer, press Windows + R, type mstsc, and hit Enter.
The Remote Desktop Connection window will open.
Enter your VPS IP address, username (usually Administrator), and password.
Click Connect to access your Windows Server VPS.
✅ Tip: Change the default RDP port (3389) and use Network Level Authentication (NLA) to enhance security.
Open Server Manager > Local Server.
Click on Computer Name and select Change.
Enter a meaningful name (e.g., WebServer01 or DBServer).
Restart the server for changes to take effect.
Go to Control Panel > Network and Sharing Center.
Select your active network (Ethernet).
Click Properties, then select Internet Protocol Version 4 (TCP/IPv4).
Choose Use the following IP address.
Enter IP, Subnet Mask, Gateway, and DNS provided by your hosting provider.
???? With a static IP, your VPS remains stable and avoids connectivity issues when hosting websites or applications.
Using only the Administrator account increases security risks. Creating multiple accounts ensures better access control.
Open Computer Management.
Navigate to Local Users and Groups > Users.
Right-click and select New User.
Enter username and password, then set login options.
Administrators: Full access to the server.
Standard Users: Limited access for running apps.
Custom Groups: Specific permissions based on tasks.
This structure strengthens server security and minimizes human error.
Enable and configure the Windows Firewall.
Regularly update your system with Windows Update.
Install a reliable antivirus for servers.
Take frequent backups of your data.
Monitor server performance with Task Manager and Resource Monitor.
Change default service ports to prevent common attacks.
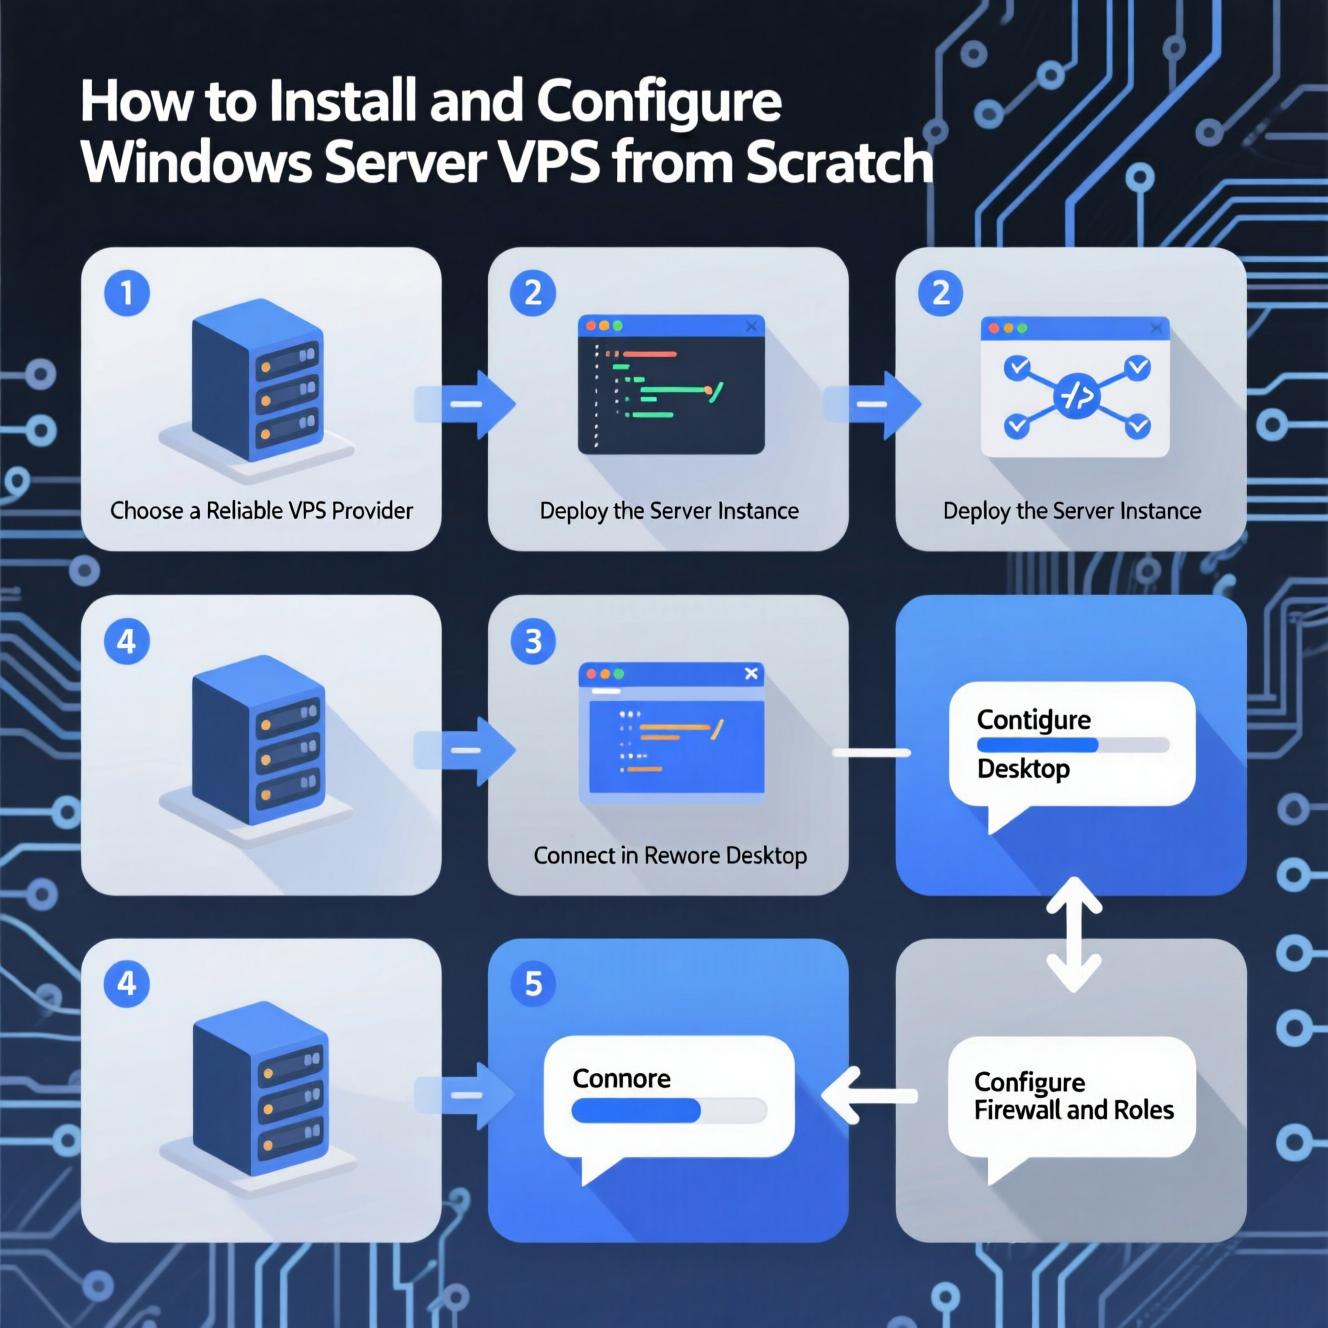
Configuring a Windows Server VPS from scratch involves three critical steps:
Logging in via RDP.
Setting server name and assigning a Static IP.
Adding users and managing permissions for better security.
By following these steps, your VPS will be secure, stable, and ready for hosting, development, or internal network tasks.
هل تحتاج إلى Windows VPS سريع وآمن وبسعر مناسب؟
شركة EgyVPS بتوفرلك سيرفرات ويندوز جاهزة للاستخدام فورًا.
تواصل معنا عبر: 201001197157+
أو زور موقعنا: https://egyvps.com
") United Arab Emirates (Arabic)
United Arab Emirates (Arabic)") Worldwide (English)
Worldwide (English)