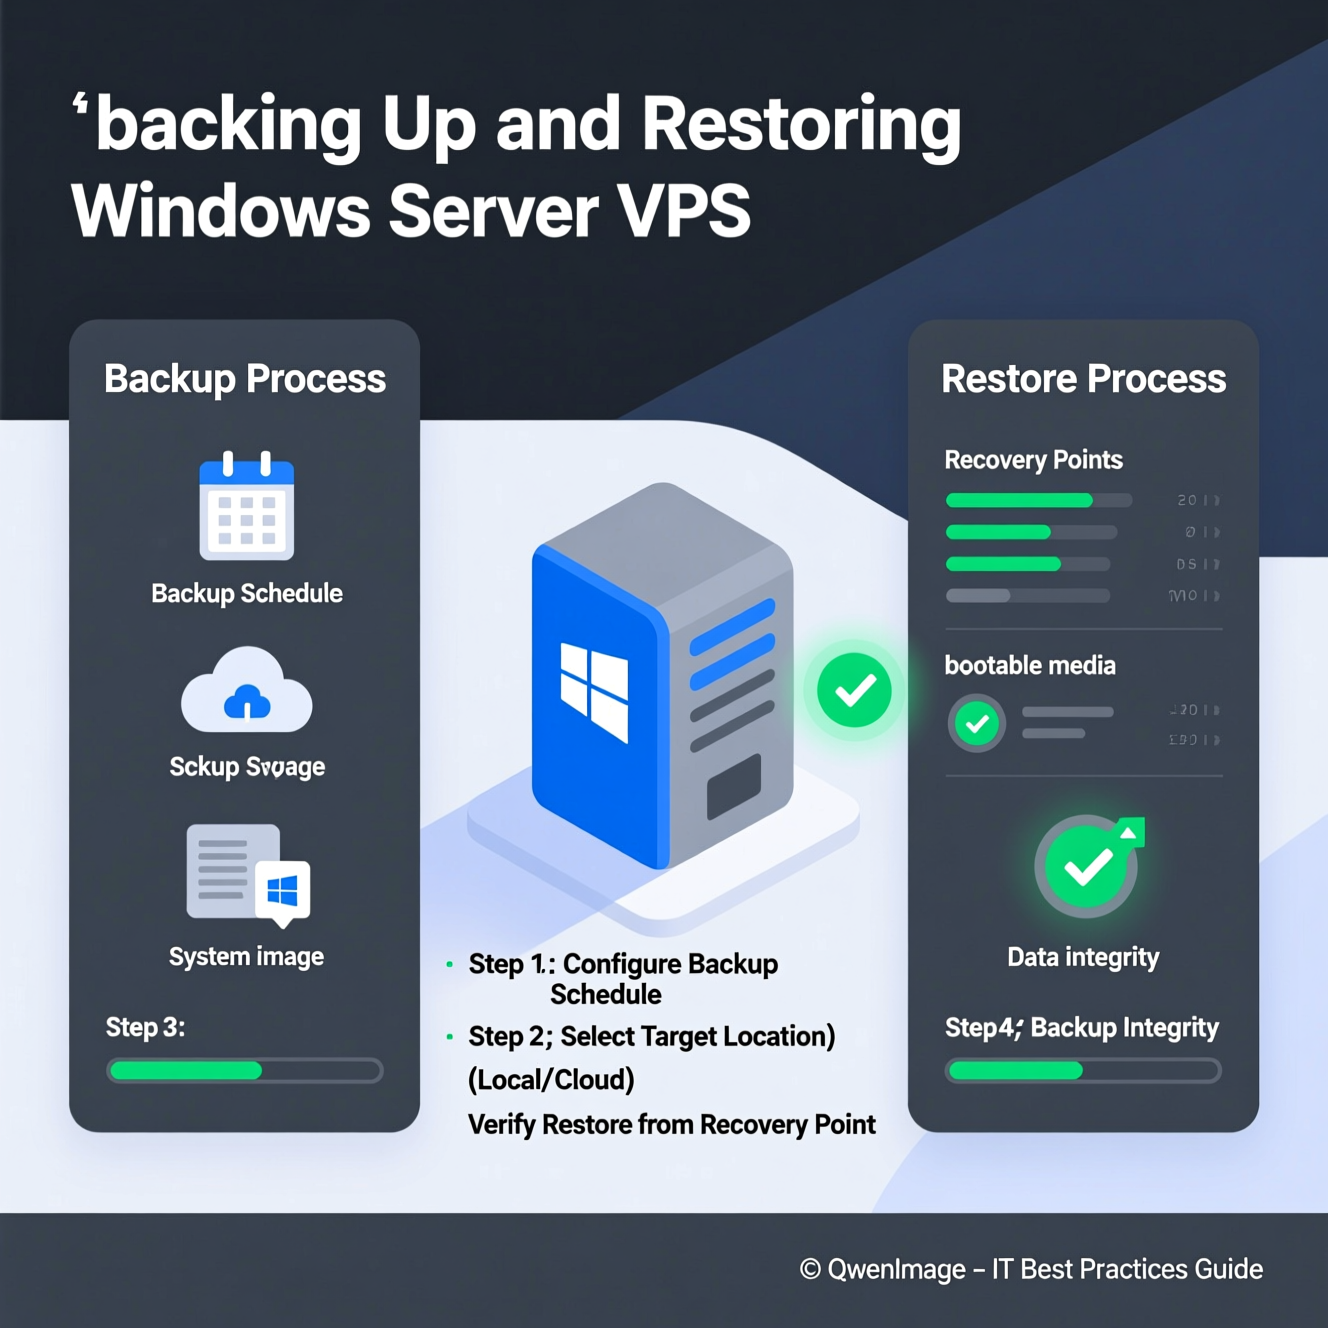
In the world of Virtual Private Servers (VPS), backup is the first line of defense against data loss or service downtime. If you’re using a Windows Server VPS to host websites or applications, having a reliable backup plan is crucial. In this guide, you’ll learn different ways to create backups and restore your system or files using built-in tools, your hosting provider, or cloud storage.
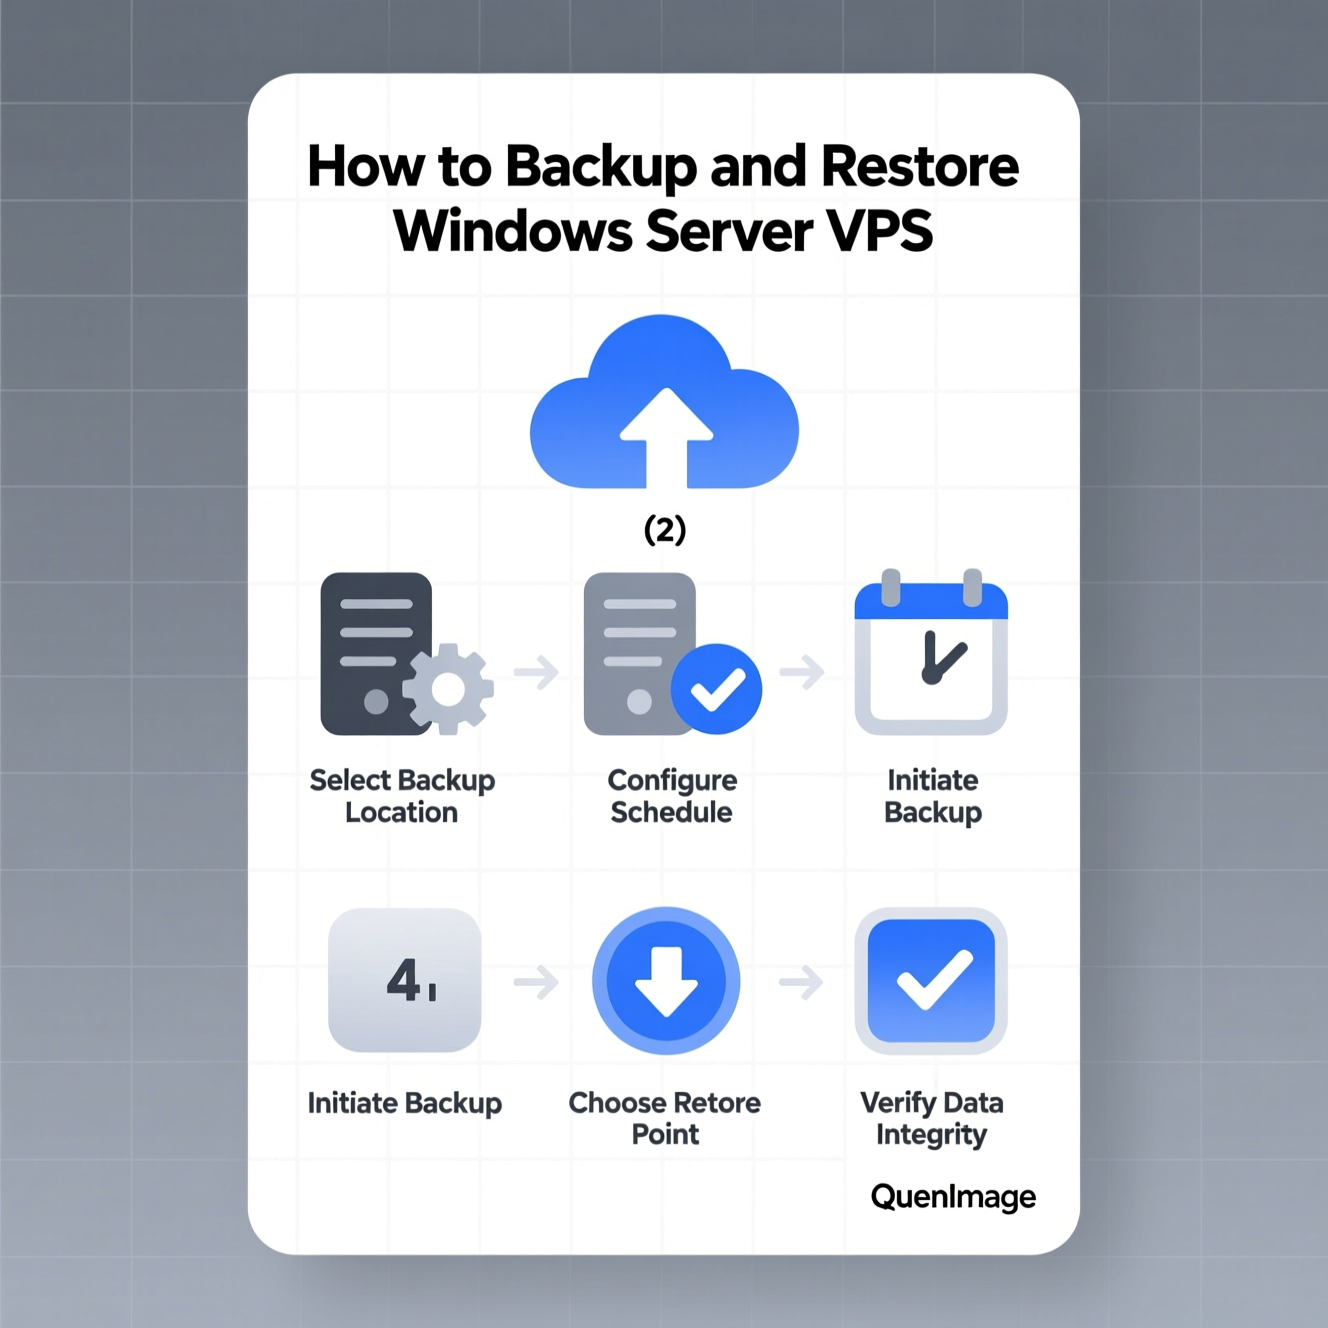
You can back up your Windows Server VPS in several ways, depending on your needs and level of control:
Using Windows Server Backup (built-in tool).
Through the hosting provider’s control panel (e.g., Hostinger, GoDaddy).
Using cloud backup services such as Azure Backup.
With dedicated tools for databases or files (e.g., mysqldump).
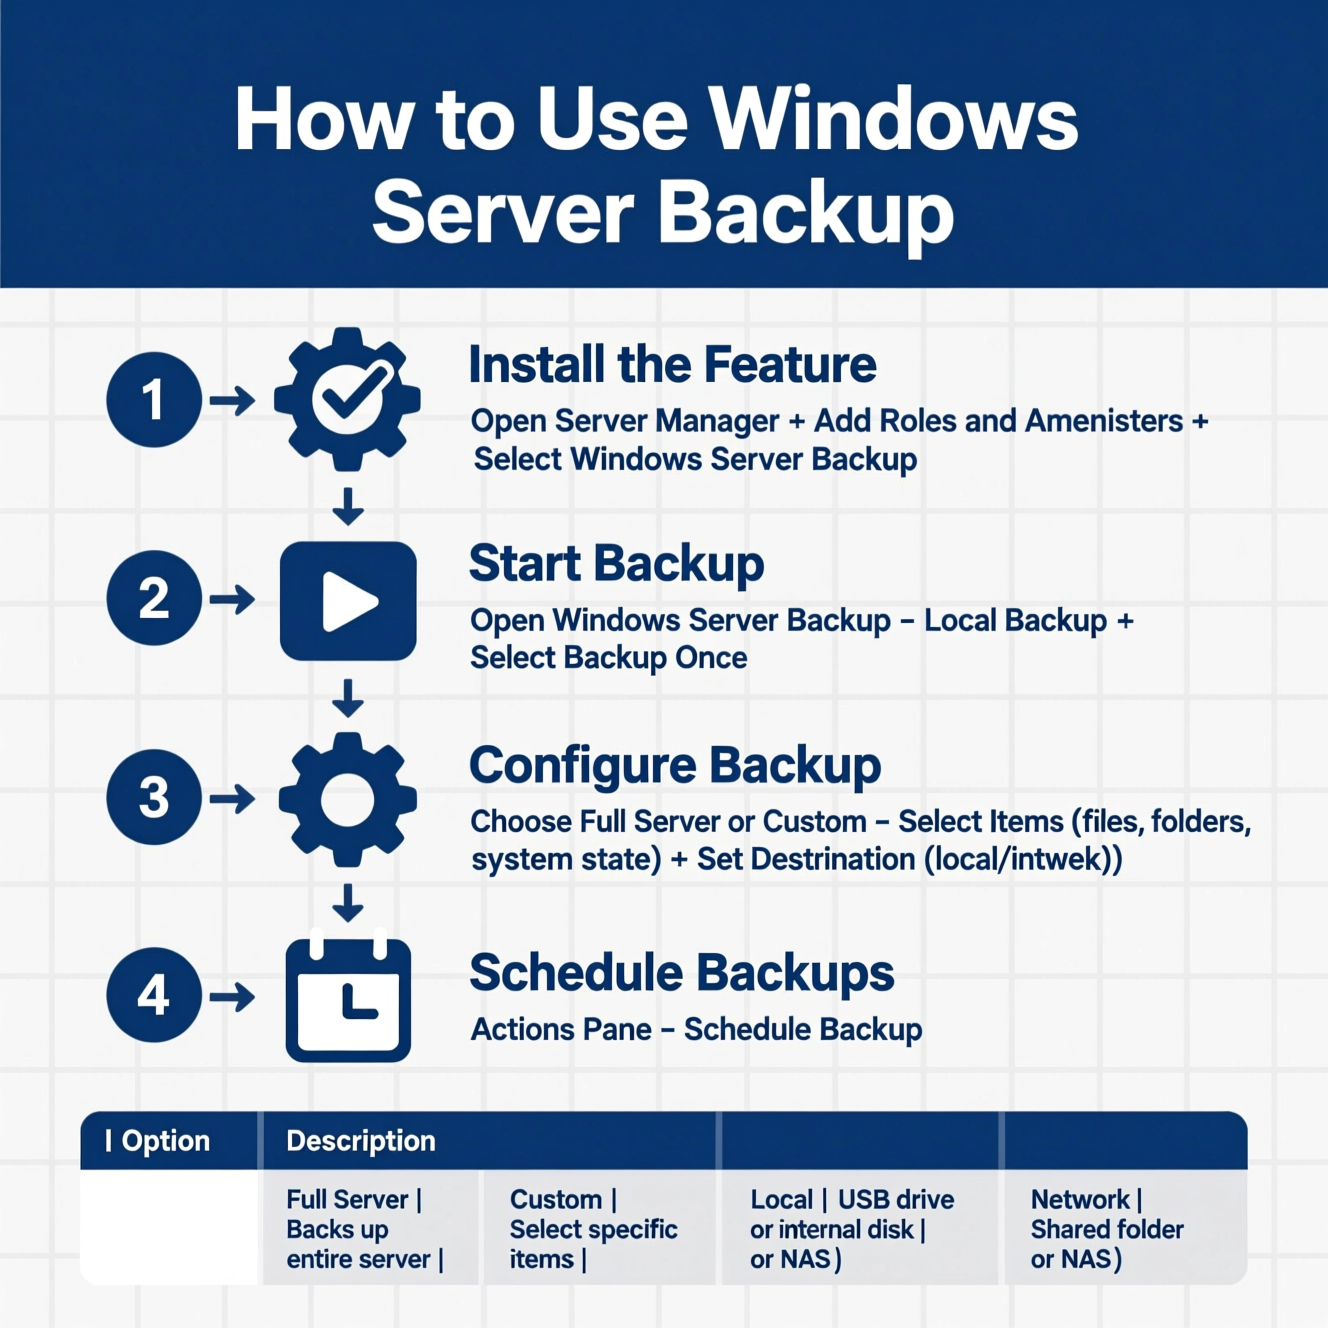
Open Server Manager.
Select Add Roles and Features, then install Windows Server Backup.
From Server Manager, go to Tools > Windows Server Backup.
Select Local Backup.
From the right menu, select Backup Schedule.
Configure frequency (daily/weekly).
Select Full Server for a complete backup.
Or choose Custom to back up specific files or folders.
Log in to your hosting account.
Go to VPS Management and look for Backup or Snapshots.
Schedule automatic backups or create on-demand snapshots.
? Tip: It’s recommended to shut down the VPS before manual backups for higher accuracy (especially on GoDaddy).
From Azure Recovery Services, select Backup Now.
Choose items (files, folders, system state).
Click Back Up to start the process.
✅ Cloud backups are excellent for disaster recovery and ransomware protection since they’re stored offsite.
Databases (MySQL): Use mysqldump from the command line.
Network Attached Storage (NAS): In Windows Server Backup, you can configure a shared folder to store backups.
Windows Server Backup (WSB) is a built-in tool that allows:
On-demand or scheduled backups.
File/folder or full system backups.
Local or network storage destinations.
Open Server Manager.
Choose Add Roles and Features.
Select Windows Server Backup and finish installation.
Open Windows Server Backup > Local Backup.
Select Backup Once.
Choose between Full Server or Custom.
Select items (files, folders, or system state).
Set the destination (local or network).
Confirm and start Backup.
From the Actions pane, select Schedule Backup.
Network Attached Storage (NAS) is shared storage accessible over a network, often with RAID for redundancy.
Easy scalability.
RAID redundancy.
Remote access.
Faster file sharing.
Access the VPS via IP-KVM or hosting provider’s console.
Boot from Windows Server installation media.
Use recovery options:
Restore from a system restore point.
Recover from a full backup.
Or reinstall the OS.
???? Always check your hosting provider’s documentation since steps may vary.
Open Windows Server Backup > Local Backup.
Click Recover.
Select backup source (local or network).
Choose files/folders.
Restore to original location or new destination.
Follow the 3-2-1 rule (3 copies, 2 media types, 1 offsite).
Use both local and cloud backups.
Schedule regular backups (daily/weekly).
Test backup recovery frequently.
Includes boot files, registry, Active Directory, and system-critical files.
Can be done via Windows Server Backup > System State option.
Stored locally or on a network drive.
Essential for Domain Controllers.
Open Hyper-V Manager.
Select the VM > Settings > Add Hardware > Hard Disk.
Choose Existing VHD.
Locate the VHD file and click OK.
Create a backup on the current server (via cPanel or snapshot).
Download the backup locally.
Transfer to the new server via SCP or SFTP.
Import databases and files.
Update DNS settings to point your domain to the new VPS.
Backing up and restoring your Windows Server VPS is not just a technical step but a business necessity. With tools like Windows Server Backup, hosting provider snapshots, and cloud solutions, you can ensure data security, service uptime, and business continuity.
هل تحتاج إلى Windows VPS سريع وآمن وبسعر مناسب؟
شركة EgyVPS بتوفرلك سيرفرات ويندوز جاهزة للاستخدام فورًا.
تواصل معنا عبر: 201001197157+
أو زور موقعنا: https://egyvps.com
") United Arab Emirates (Arabic)
United Arab Emirates (Arabic)") Worldwide (English)
Worldwide (English)